无人机建图+障碍识别+路径规划
简介
闲来无事,本着月更博主的优良美德,这次终于可以给大家更新了。这几天做个双目视觉避障,技术难度不算特别高,里面用到的一些算法都是非常好理解的。项目主要包括建图+避障+路径规划三大部分,其中路径规划都有对应的神经网络模型,基础点的有蚁群、退火、成长优化等等,这些算法各有特色,所以本项目所使用的并不一定就是最好的,只是相对比较快的。至于其他的功能可以从视觉惯性上学习。
建图
在无人机上挂一枚4k摄像头,使用H616芯片作为视觉处理CPU,同时利用抽帧法获取摄像机数据以降低CPU负担,下面将详细讲解。
Step:抽帧法
先介绍一下H616的参数,他是一个四核CPU,拥有1.5G主频64位指令集。这里使用的是香橙派zero3,所以还带有一个OpenGL。
虽然这个配置可以显示4k图像,但是在处理上还需要加强,摄像头为4k/30fps,并且建图无人机速度也没有快过摄像头,所以我们可以在视频按照一定间隔取出一帧进行图像拼接。
1 | |
这里使用的是通过VideoCapture进行参数传递,fps为抽帧间隔。
获取到图像后,我们就需要进行图像拼接,这里我们可以利用SLAM建图的思想完成:
- 计算ORB特征点
- 将特征点进行匹配
- 将匹配的特征点进行汉明距离上的筛选
- 保存最佳的筛选特征点
- 利用特征点计算单应矩阵
- 拼接图像并去黑边
这里使用到了单应矩阵,他的主要作用就是在一段连续变化的图片中,描述图片的变化过程,如果搭配视觉惯性算法可以清楚的表输出摄像机的位姿和视角等信息,不过这里并不需要,仅仅需要将变化后的图像进行变换,计算得到和原图像比例相当的图像然后进行拼接即可。
这里放出代码,感兴趣可以阅读,数学原理不做赘述:
1 | |
最后我们来到了黑边删除算法,只需确定有RGB颜色的四条边即可:
1 | |
双目避障
视觉避障最大的难点是精度和像素,双目视觉因为要同时处理两幅图像,所以对CPU的要求比较大,这里采用了RK3588的板子,也就是香橙派4b,这个CPU最高可以处理8k/30fps,有8个CPU核心和NPU用于神经计算加速,所以这里还需要用到神经网络进行判断。
在我之前的一期博客里面详细介绍了双目视觉与双目测距,这里给出链接:双目视觉测距
一些具体的原理,这里就不做赘述了,我们将标定好的参数保存在一个结构体里面:
1 | |
然后我们利用畸变系数进行畸变消除:
1 | |
最后我们利用内联函数的多线程完成SGBM算法:
1 | |
最后我们就得到了双目摄像机所确定的深度图,并在vector中保存返回。
最后我们利用对应的极坐标点画出雷达图:
1 | |
避障算法
因为我们不需要使用神经网络,所以我们就抛开强化学习等学习模型不谈,只用数学方法去求解这样的最优路径,缺点也很明显,那就是因为数据量被压缩了,所以变成了二维避障方法,这个算法是从成长优化算法(GO)演化过来的。
无人机的路径规划方法也要考虑最短路径的问题,所以我们需要假设障碍物是一个点,我们需要绕开这个点,并且还要和点保持一定距离,所以我们就需要让无人机沿着某一个圆的切点进行移动,
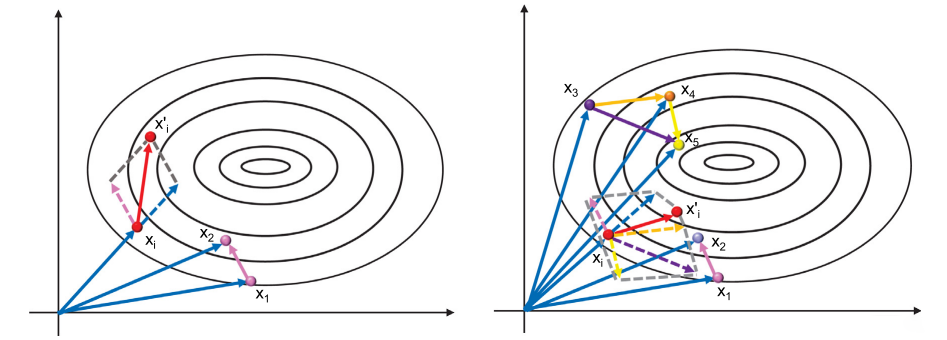
因为在本项目中使用到的都是极坐标,所以我们可以很方便的求出这样的向量。下面给出部分代码:
1 | |
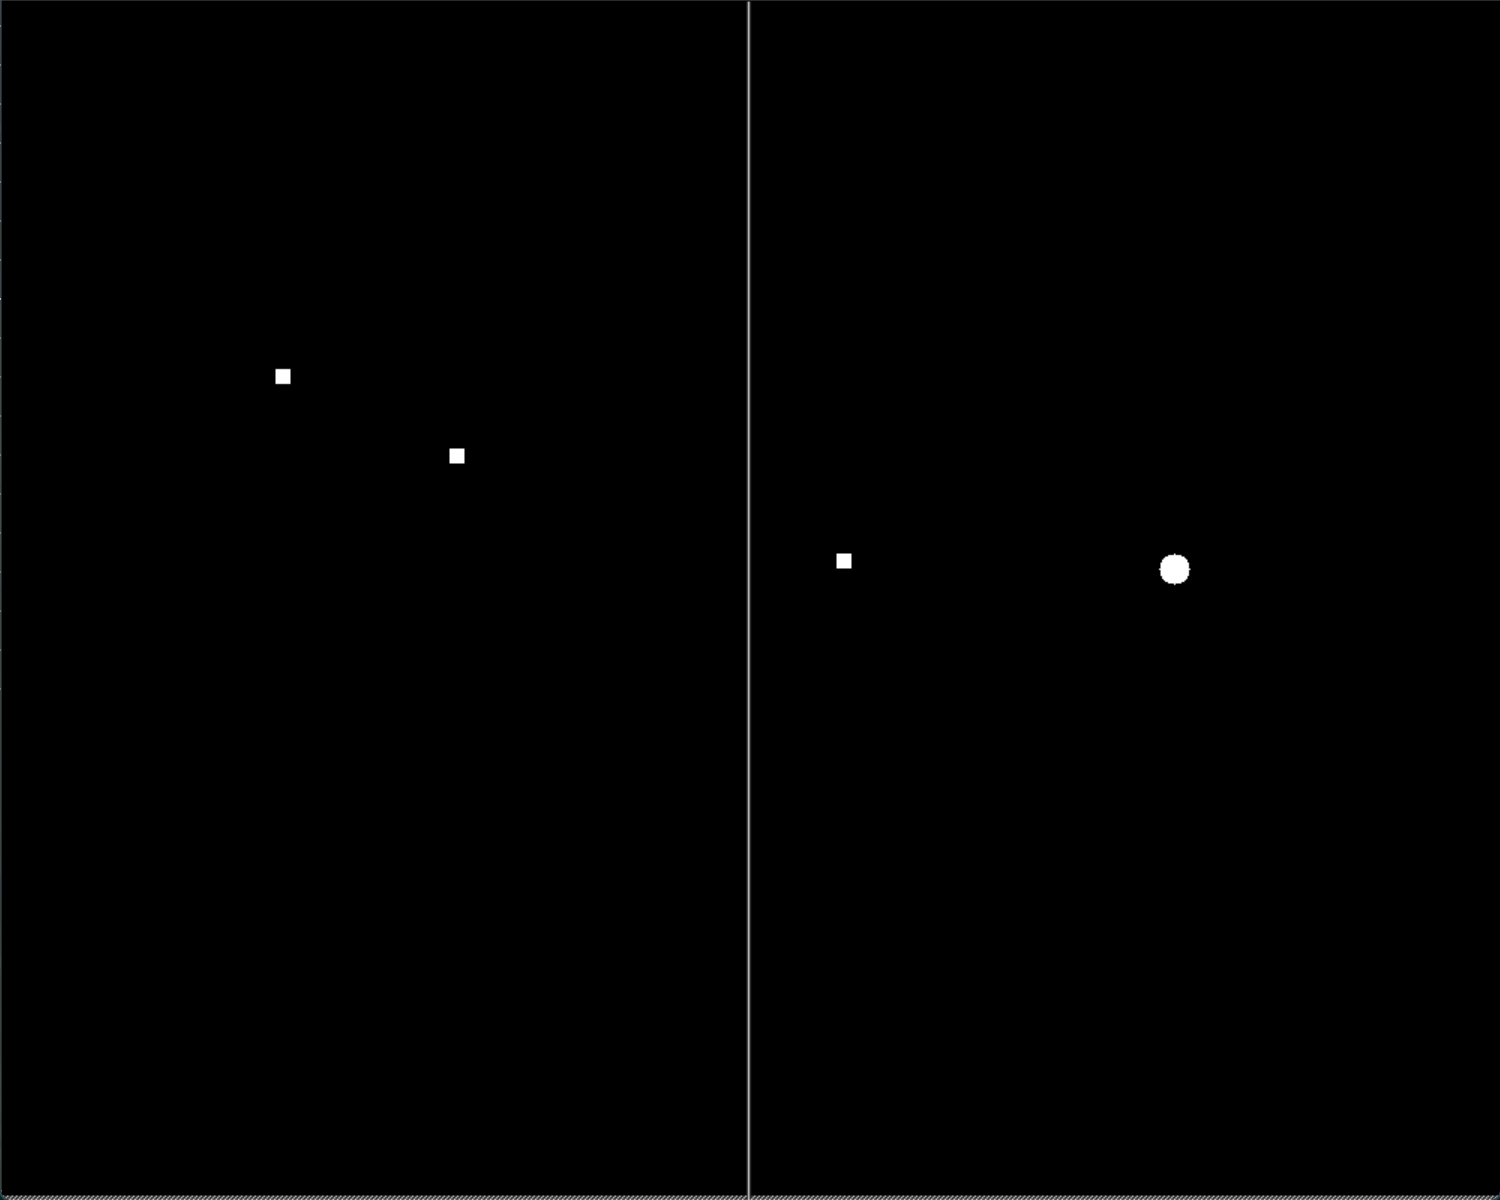
其中较大的白色点为最佳的路线方向。
总结
这次的项目难度总体上并不大,也就是洒洒水啦。因为本项目最大的要求就是速度,其中用到的一些思路比如多线程、OpenGL等等,还是可以应用到其他的miniPC或者嵌入式平台的,只要核心足够多,速度还可以更快(无人机上用i9)
马上就是新年了,祝大家新年快乐哦,放假更新频率应该会变快(大概)